A lesson in self-acceptance and a delightful chilled summer soup that is ridiculously simple to throw together and reflects the vibrant greens of this beautiful season.
Sometimes I just need a good swift kick in the pants to get going on something.
I think I’ve mentioned before that I began envisioning my food blog over 5 years before it actually came to fruition. My best reason excuse for not getting it up and running sooner was that I’m pretty busy with my real job. The other reason is I have a character flaw where I think everything has to be perfect before I can move forward. Early on, when I was thinking of names for my blog, I spent months deciding on the perfect name. I came up with about a dozen, 3 or so that I really liked, but it took me a while to finally decide on one because it had to be perfect.

My second flaw, umm… let’s call them quirks; quirks sound much better than flaws. My second quirk is that I want to do everything myself (it is quite possible I’m a bit of a control freak) so I started researching how to start a blog. I needed to research it first because, of course, if I was going to do a blog I was going to do it perfectly, so I couldn’t just jump in willy-nilly. And therein lies my third quirk – I like to do a lot of research before I actually move on something. I then do a lot of thinking about how I’m going to do that something, but don’t try to help me because I CAN DO IT MYSELF! So I did a lot of research on how to get my blog up and running, in fact I spent so much time researching that several years later I still hadn’t moved on to actually starting the blog.
I finally admitted I needed help with the technology side of the blog and found someone who could both help me design my logo (which, I figured should be pretty easy since I already knew in my head exactly what I wanted) and do the basic blog set-up. Well, as it turns out, translating what’s in my head isn’t always so easy. Luckily I found a wonderfully patient, determined and way-more-tech-savvy-than-me gal by the name of Shelbye to help bring my dream to fruition. 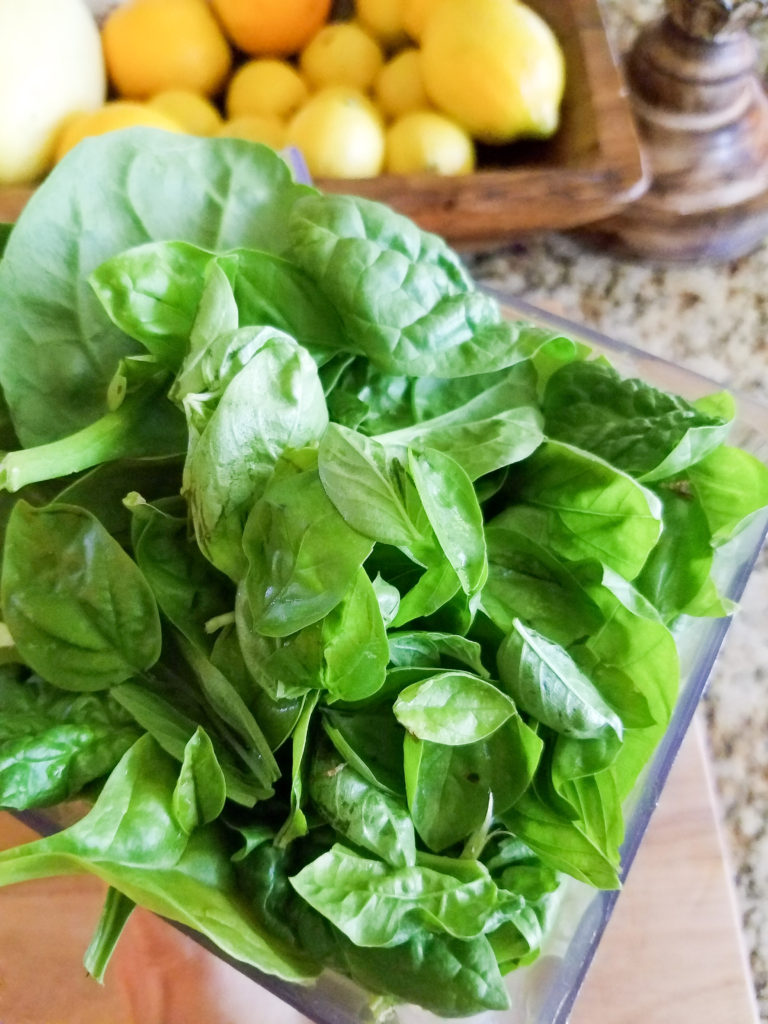
Shelbye and I worked together via email and texts for over 6 months to come up with a logo that was, at least, close to what was in my head. Never giving up and telling me I was too difficult, Shelbye must have given me over a dozen logos that I immediately dismissed as not being exactly right. Once we finally got close to what I’d been envisioning I decided this was one of those times where I had to force myself to move forward. I mean, that idiotic perfectionist in me really could have gone on for 6 months more tweaking designs to try and get it just perfect.
At last, just a few final details to go! Now, you would think at this point I would have been ready to launch this thing. After all, I’d been writing down my recipes and photographing them for years now but wait, not yet… my research had indicated it was best to wait until you were several posts in before “going public” and promoting a blog. So I waited, and I posted, and I waited…
Then one day I was finally 10 posts in – the magic number according to my research. But… the blog still wasn’t exactly what I wanted… Yep, it wasn’t perfect. I wanted the text to line up better with the photos, I still didn’t know how to install an email sign up option, and I could not, for the life of me, figure out the short code to add a print recipe button!
During this time I was also building up my Instagram feed by posting quick (read as not-technically-up-to-my-standard-of-perfect) photos of food and other things. But because my blog wasn’t “ready to go public” I didn’t do a ton of hashtags and I especially stayed away from the hashtags that were frequented by the really good bloggers. I mean, what if they see my stuff before its perfect, what if they don’t like me…?!?!
I know it’s silly, because once it’s out there anybody can share it and everybody can see it, but a little part of me imagined I could store this stuff in a little protective bubble until I was ready to release it to the world.
Then came my kick in the pants, in the form of a beautiful complement. Someone shared one of my photos with a lovely comment and encouraged people to follow me, adding many of the hashtags I had been hesitant to use. “Gasp! Oh no, the real bloggers might see me…!” Well, you know what? Sometimes you just have to move; sometimes you just have to jump even if you’re not quite ready because, deep breath, it doesn’t always have to be perfect.
So here’s what I’ve learned – I need to loosen the reins on my control, especially if what I’m doing is on the worldwide stage anyway. I’ve also accepted that sometimes things happen that we’re not expecting and, more often than not, it’s a good thing, even if we don’t realize it at first.
Now while you read on, and then hopefully make my delicious Green Gazpacho below, I’m going to go organize my freezer because that, I can control!
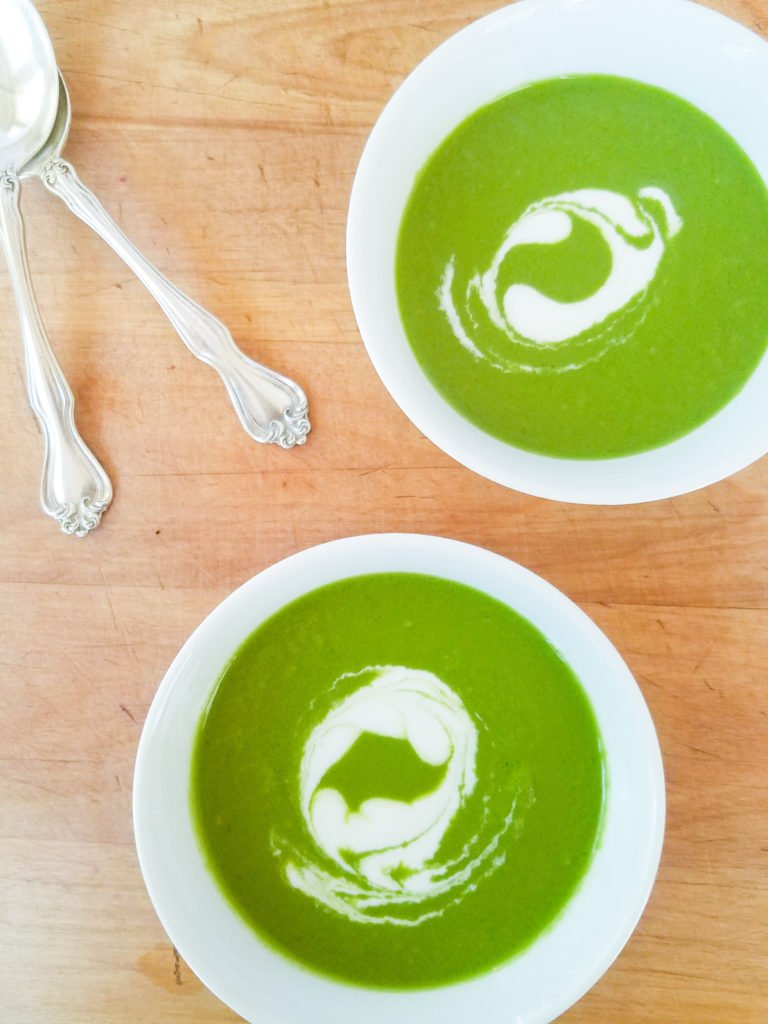
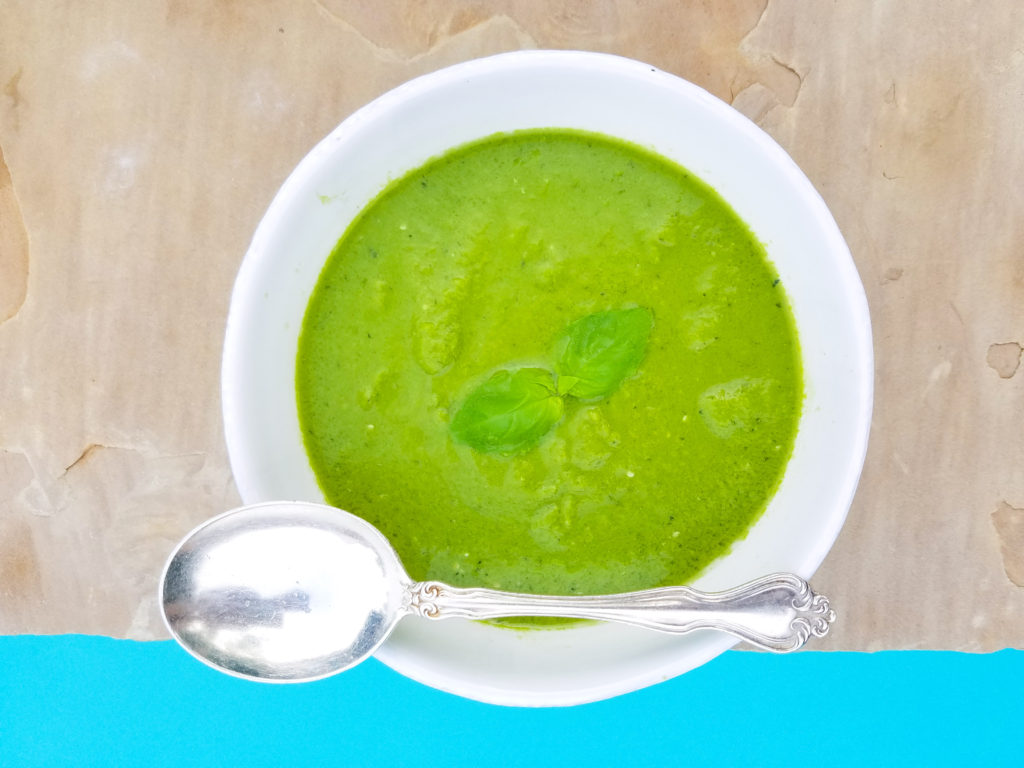
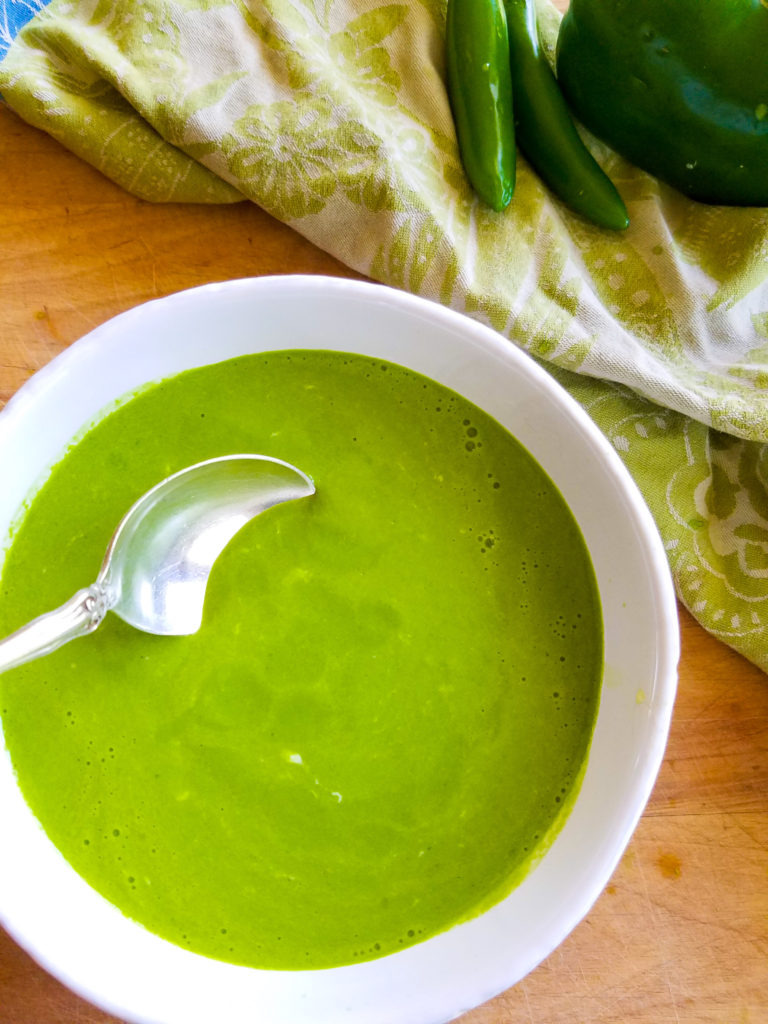
Green Gazpacho
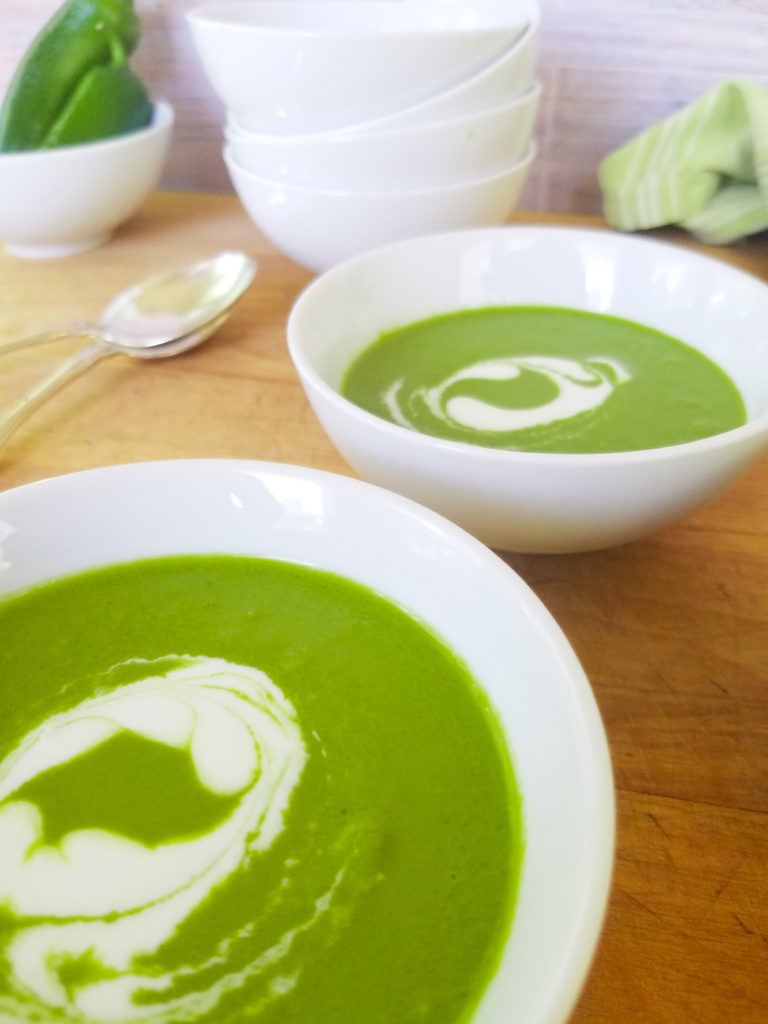
The amounts below make about 4 large bowl servings, but I also like to serve this chilled soup in small bowls as a first course during a summer dinner party for 6 or 8. Also, I usually have more of the listed ingredients on hand and add more of whatever particular flavor I feel it needs each time I make it; keep in mind that cold soups loose flavor after they are chilled so make sure yours has a lot of flavor to start.
An optional swirl of yogurt, sour cream, or cashew cream for a vegan version, before serving makes for a pretty presentation.
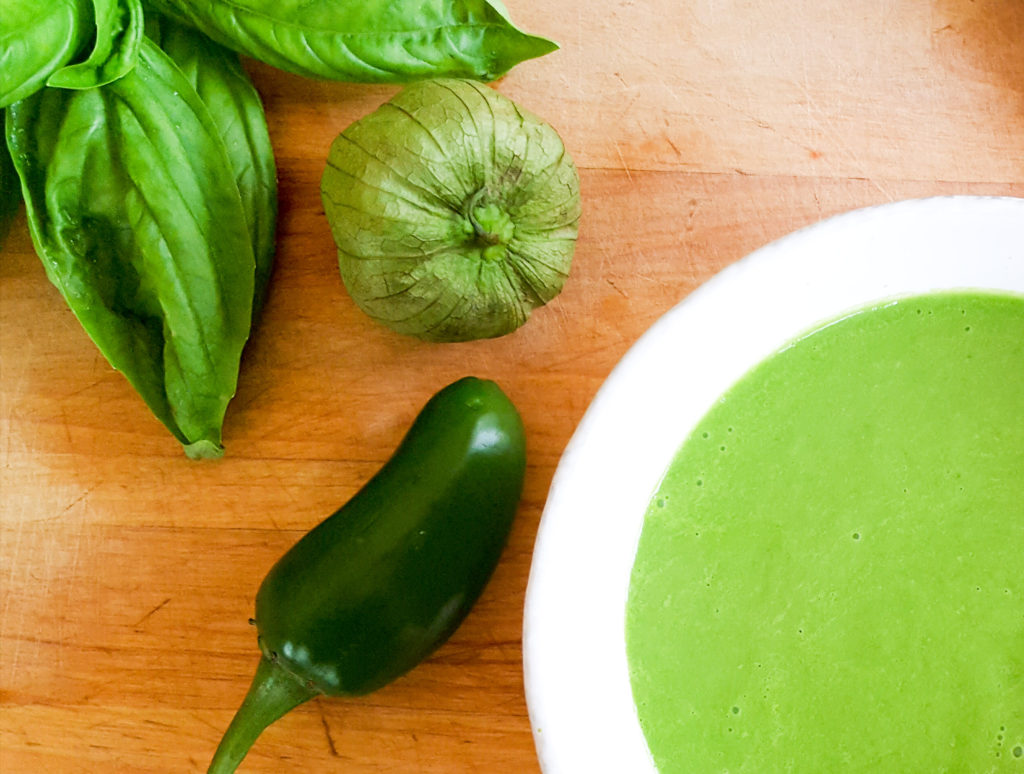
6 medium tomatillos
1 large green bell pepper
1 large cucumber
1 large jalapeno, seeded if you prefer less heat
3 big handfuls spinach leaves
1 bunch, or 1/2 cup packed, basil leaves
1 teaspoon salt, plus more to taste
1/4 to 1/2 cup good quality olive oil *see below
1/4 to 1/2 cup water *see below
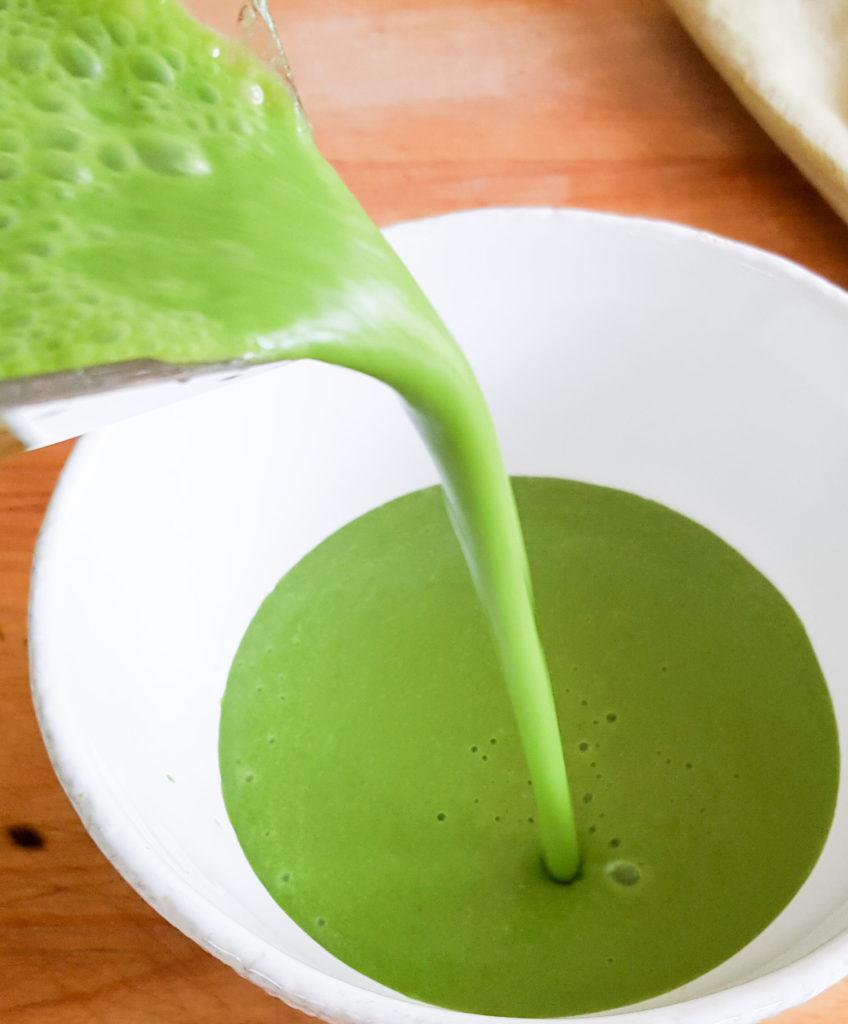
Remove the paper husks from tomatillos and wash them thoroughly to remove any of the sticky residue. Cut out the stem end and give them a rough chop. Coarsely chop the bell pepper, jalapeno and cucumber. Add tomatillos, peppers, cucumber, spinach, basil and salt to the blender. Add 1/4 cup of the water, cover and turn on the blender for a full minute. Then, while running, carefully open the blender and drizzle in 1/4 cup of olive oil. Once the oil is incorporated turn off the blender. The consistency should be smooth, velvety and bisque-like. Taste and add more salt if needed. If it’s too thick, add a bit more water. Adding more olive oil will increase the creaminess. Refrigerate until well chilled, 2-3 hours or overnight.
I made this for lunch today. It was absolutely beautiful and tasted so fresh and delicious.
Great recipe!
Great, I’m glad you liked it!
I cannot wait to try this!!
Please let me know how you like it! I was just telling someone that sometimes when I have it leftover in the fridge, and I don’t have time to make my regular morning smoothie, I will drink this in it’s place… sort of like a savory smoothie!